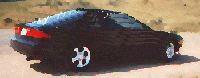
 Front
Strut Bar PicsFront
Strut Bar Pics
Front
Strut Bar PicsFront
Strut Bar PicsI may post parts of email messages I receive. If the author objects to this policy, I will re-edit or remove the text to satisfy you.
Check out this page also: http://members.aol.com/spdluvr/probe.html
Thanks to SM and AM for the pics!
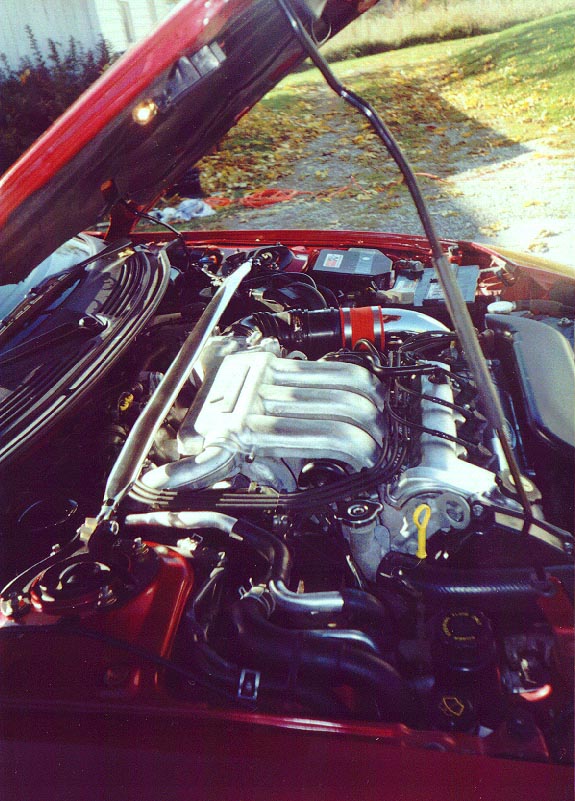
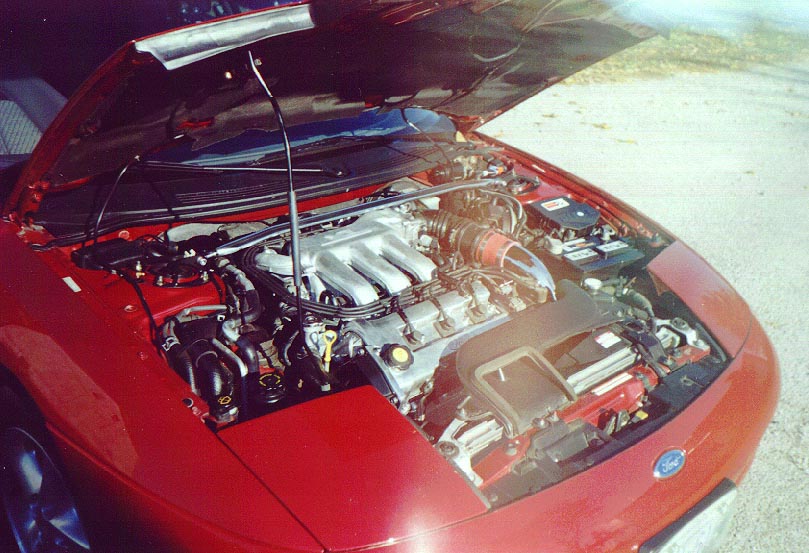
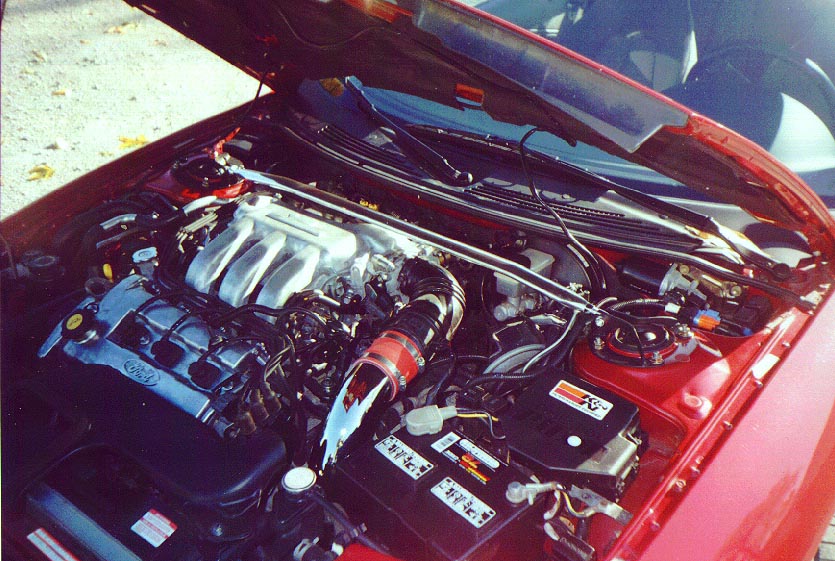
It fits...mostly. Let me explain. The bar is listed as fitting the 626, MX-6, and Probe GT. Apparently it fits the two Mazda models without problem, but as is usually the case with our Probes, it takes a little monkeying around to make it work. It seems the hood on the Probe is lower near the sides of the engine compartment; as a result, the ends of the bar come into contact with the reinforcements under the hood in 2 places. In addition, the bar interferes with the hood prop rod mounting bracket, but we all knew this was going to be a problem. I was able to overcome both of these obstacles relatively easily. First, let me tell you about the bar. I bought the FAST strut tower bar from Lazer Auto in Montreal (www.lazer-auto.com) for the unbelievable price of $59 Canadian (that's approx. $39 US). With shipping to Cleveland, Ohio ($20 CAN), the total came to about $56 US. The bar is polished aluminum with black brackets that mount using all four strut mount bolts. The bar is angled up slightly at both ends, then goes straight across and clears the back of the VRIS casting near the throttle body by approx. 1/2 inch. The position and height of the bar is slightly adjustable, but I put mine in slightly high to clear the intake manifold after I install the intake manifold thermal spacers (more on those coming soon). The quality of the bar is reasonably good, with decent welds on the brackets and sturdy hardware. For those of you concerned about aesthetics, this bar looks pretty sharp, and once you factor in the cost, it is an excellent deal. Now for the install. To fit the bar mounts to the strut towers, you must first remove the hood prop rod bracket from the strut tower. I used a chisel to carefully get under the bracket and pop the spot welds under the metal bracket. I then used my trusty Dremel tool to grind the area flush with its surroundings and then spayed the area with color matched paint. You would never know there was anything there, it looks completely factory. I then installed the bar brackets to the strut towers by simply removing the four strut nuts, placing the brackets, and replacing the strut nuts. Leave the nuts loose at first to aid in the placement and adjustment of the bar. I also used the opportunity to adjust the strut top mount for maximum negative camber and caster. This is done by lowering the strut until the studs clear the mounting holes, and then rotating the struts to the new mounting position. I chose the position where the pointer on the top of the strut mount points outward and to the front. But I digress from the bar install, sorry. With the mounts in place, you may now install the bar itself. You will need to finesse the position of the bar for the best compromise between engine and hood clearance (remember, the engine rotates on its mounts). This is not that difficult as the bar is reasonably adjustable and can be bent if absolutely necessary. Now for hood clearance. I was able to close the hood with no further mods, but the reinforcements did contact the bar on both sides. So I removed the hood liner and applied a little grease to the top of the bar and closed the hood again to see exactly where the bar hit. With my trusty Dremel tool (man, I love that thing) and a little patience, I was able to grind a very factory looking slot in the driver's side reinforcement. On the passenger's side, I was able to simply deform the area (with a ballpeen hammer!) to give it the necessary clearance. I once again painted the area with matching Ford paint and reinstalled the hood liner. I now carefully cut the liner with a razor blade over the areas I just modified. The whole job looks completely stock and no one would ever know that it didn't come that way from the factory. I would love to give enthusiastic reports of how the bar transformed the handling of my Probe, but I find comments like this are generally exaggerated. The handling does feel crisper, but how much of that is due to the alignment change instead of the strut bar, I cannot know. The bar is solid aluminum, it does not have the same amount of rigidity that the Road Race custom fit steel tubing brace.
![]()
The Bay Area Probe Owners Club does not endorse or avoid any specific automotive business or product. Use this information and these links at your own risk. I may post parts of email messages I receive. If the author objects to this policy, I will re-edit or remove the text to satisfy you.
November 1998
Bay Area Probe Owners Club Website